After setting up a blog with hexo, setting up a blog with hugo is relatively easier. This is because the environment for building a hugo blog is the same as that for building a hexo blog, and the deployment of both blogs is the same, requiring only a few simple and commonly used commands.
If I had to choose a blog to use as my main site, I would choose a hugo blog. However, for me, the fatal blow of a hugo blog is that there are too few attractive themes. What attracts me is its speed. The hugo blog I built earlier was really fast. Hexo blogs also have their drawbacks. For example, the biggest drawback of my blog is that the rendering of CSS and images is too slow. When I open my blog, the first thing I see is a blank page, which greatly affects the browsing experience. Sometimes, some icons are also slow. At first, I thought it was because of the slow speed of using Aliyun's image hosting service, but later I found out that this is actually a drawback of hexo blogs.
Without further ado, let's get started!
Install CHOCOLATEY#
Actually, I don't know what this is. You can browse and learn about it on the official website. I installed it in a daze because it is needed for installing hugo. The official website provides two installation methods. I don't know the difference between these two methods, so I chose the simpler one. Open the terminal and enter:
(Install with cmd.exe):
@"%SystemRoot%\System32\WindowsPowerShell\v1.0\powershell.exe" -NoProfile -InputFormat None -ExecutionPolicy Bypass -Command "[System.Net.ServicePointManager]::SecurityProtocol = 3072; iex ((New-Object System.Net.WebClient).DownloadString('https://community.chocolatey.org/install.ps1'))" && SET "PATH=%PATH%;%ALLUSERSPROFILE%\chocolatey\bin"
Install hugo#
As usual, go to the official website and browse. Here, we choose to use the Chocolatey (Windows) installation mentioned earlier. There are also two ways to install it, which are:
choco install hugo -confirm
and
choco install hugo-extended -confirm
I strongly recommend installing the second option. At first, I casually chose to install the first option, but then I encountered problems when I started uploading the blog. It turned out that I was missing hugo-extended, yes, the second option. After I installed the second option, the problem was solved.
After installation, it is recommended to check the version to see if the installation was successful. Enter the following code:
hugo version
The following should appear:

Note that it is different from the code for checking the version of hexo.
Create a Blog#
Create a local project for the blog:
hugo new site blog-name
Enter the blog:
cd blog-name
Generate static files in the public folder:
hugo
Change the Theme#
As I mentioned earlier, it was difficult for me to find a theme I liked for hexo. However, I think there are several good themes for hugo, which are:
| ghcard Ice-Hazymoon/hugo-theme-luna | ghcard reuixiy/hugo-theme-meme |
|---|
Choose the one you like and replace it.
Publish Articles#
Create a new article:
hugo new post/my-first-article.md
Preview locally:
hugo server -D
Generate static articles in the root directory of the article:
hugo
Go to the public folder:
cd public
Then enter the following code:
git add .
git commit -m 'first commit'
git push -u origin master
Reference Images#
In general, blog articles reference images using relative paths. In the hugo blog, the data is stored in the static directory. Therefore, we need to place the images in this folder. Here are the steps:
-
In the article directory, which is usually
D:\Blog\wangyunzi\content\postsfor hugo blogs, create a folder specifically for storing images. -
When writing an article, the relative path to the image in this folder should be used. For example,
should be changed toso that the image will not be broken. -
Finally, move these articles that you have referenced to the
staticfolder.
After practicing, I found that the above steps are a bit cumbersome, so I changed the steps as follows:
-
Directly create a folder for storing images in the
staticdirectory, for example,D:\Blog\wangyunzi\static\imgs. Just put the images you need in it. -
When referencing images, simply write them in the format
.
Summary#
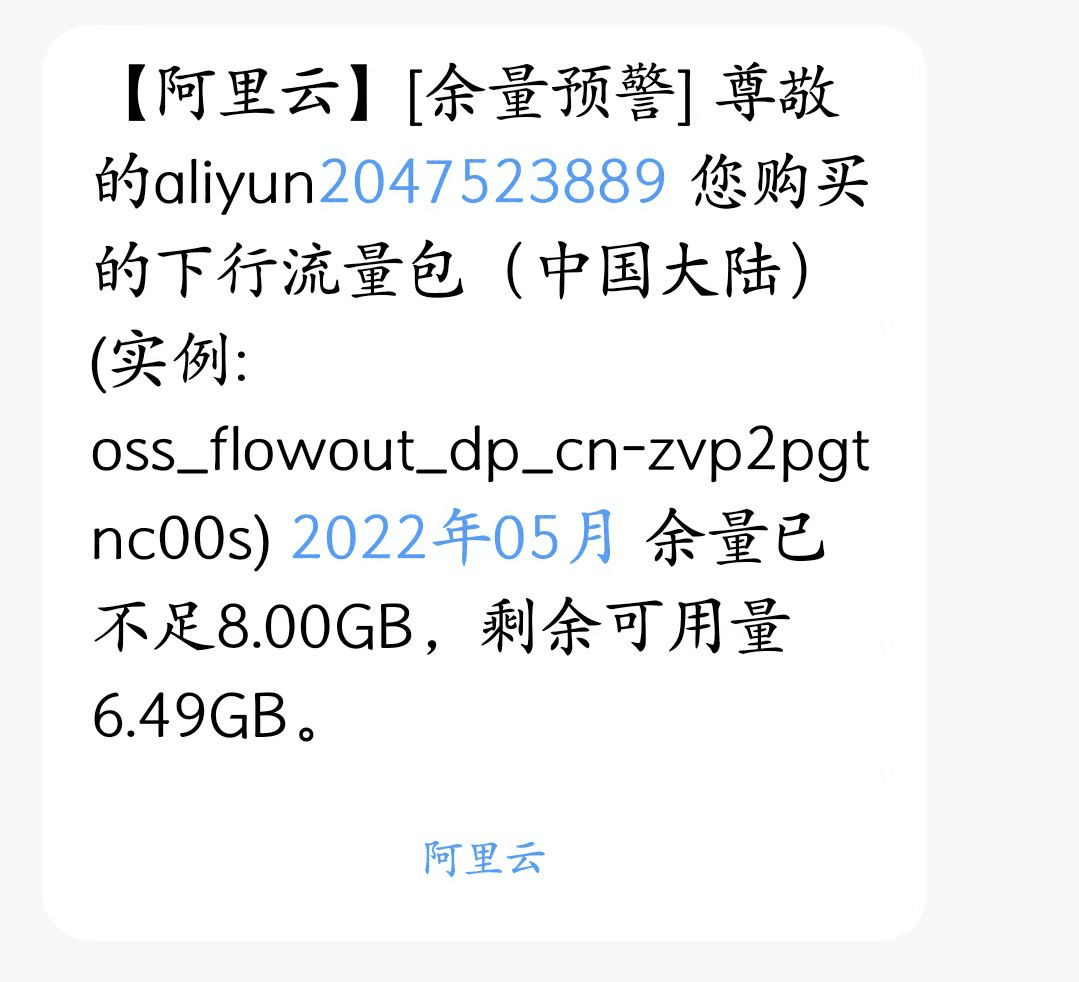
Finally, there are generally two ways to use images. One is to directly upload local images as mentioned above, and the other is to use an image hosting service. When I first started blogging, I always believed that uploading local images was the best option because image hosting services are not only a bit troublesome to use, but also require money, which is a big blow to a poor college student like me. However, as I got more experience, I gradually realized the convenience of using image hosting services, and they are more portable. Sometimes, the loading speed is even faster than when using local images. Currently, I use Aliyun's Object Storage Service (OSS) as my image hosting service, and it works well without major issues. But maybe it's because I'm a bit reckless, today Aliyun suddenly sent me a quota warning. It was like a bolt from the blue, because I almost used up the 40GB storage I bought for 1 yuan discount in just a few days. It's tough. I should be more careful in the future.
