随着移动设备的普及,越来越多的人开始使用移动设备浏览网页。为了提高用户的体验,许多网站都已经实现了 PWA(渐进式 Web 应用程序)功能。
安装 hexo-pwa 插件#
在 Hexo 博客中,我们可以使用 hexo-pwa 插件来实现 PWA 功能。首先,我们需要在命令行中输入以下命令进行安装:
npm install hexo-pwa --save
注意:这一步我的博客安装之后会报错,所以我最后卸载的,但是很多教程都有些到这一步。
安装 hexo-service-worker 插件#
在终端输入下面代码:
npm install hexo-service-worker --save
配置 manifest.json 文件#
PWA 功能的核心是 manifest.json 文件。这个文件包含了应用程序的名称、图标、主题颜色等信息,浏览器可以根据这些信息来显示应用程序的图标,以及为其创建应用快捷方式。
在这个文件中,我们需要指定应用程序的各种信息
我们可以在 Hexo 博客的根目录中创建一个新的文件夹source/,并在其中创建一个名为manifest.json的文件。
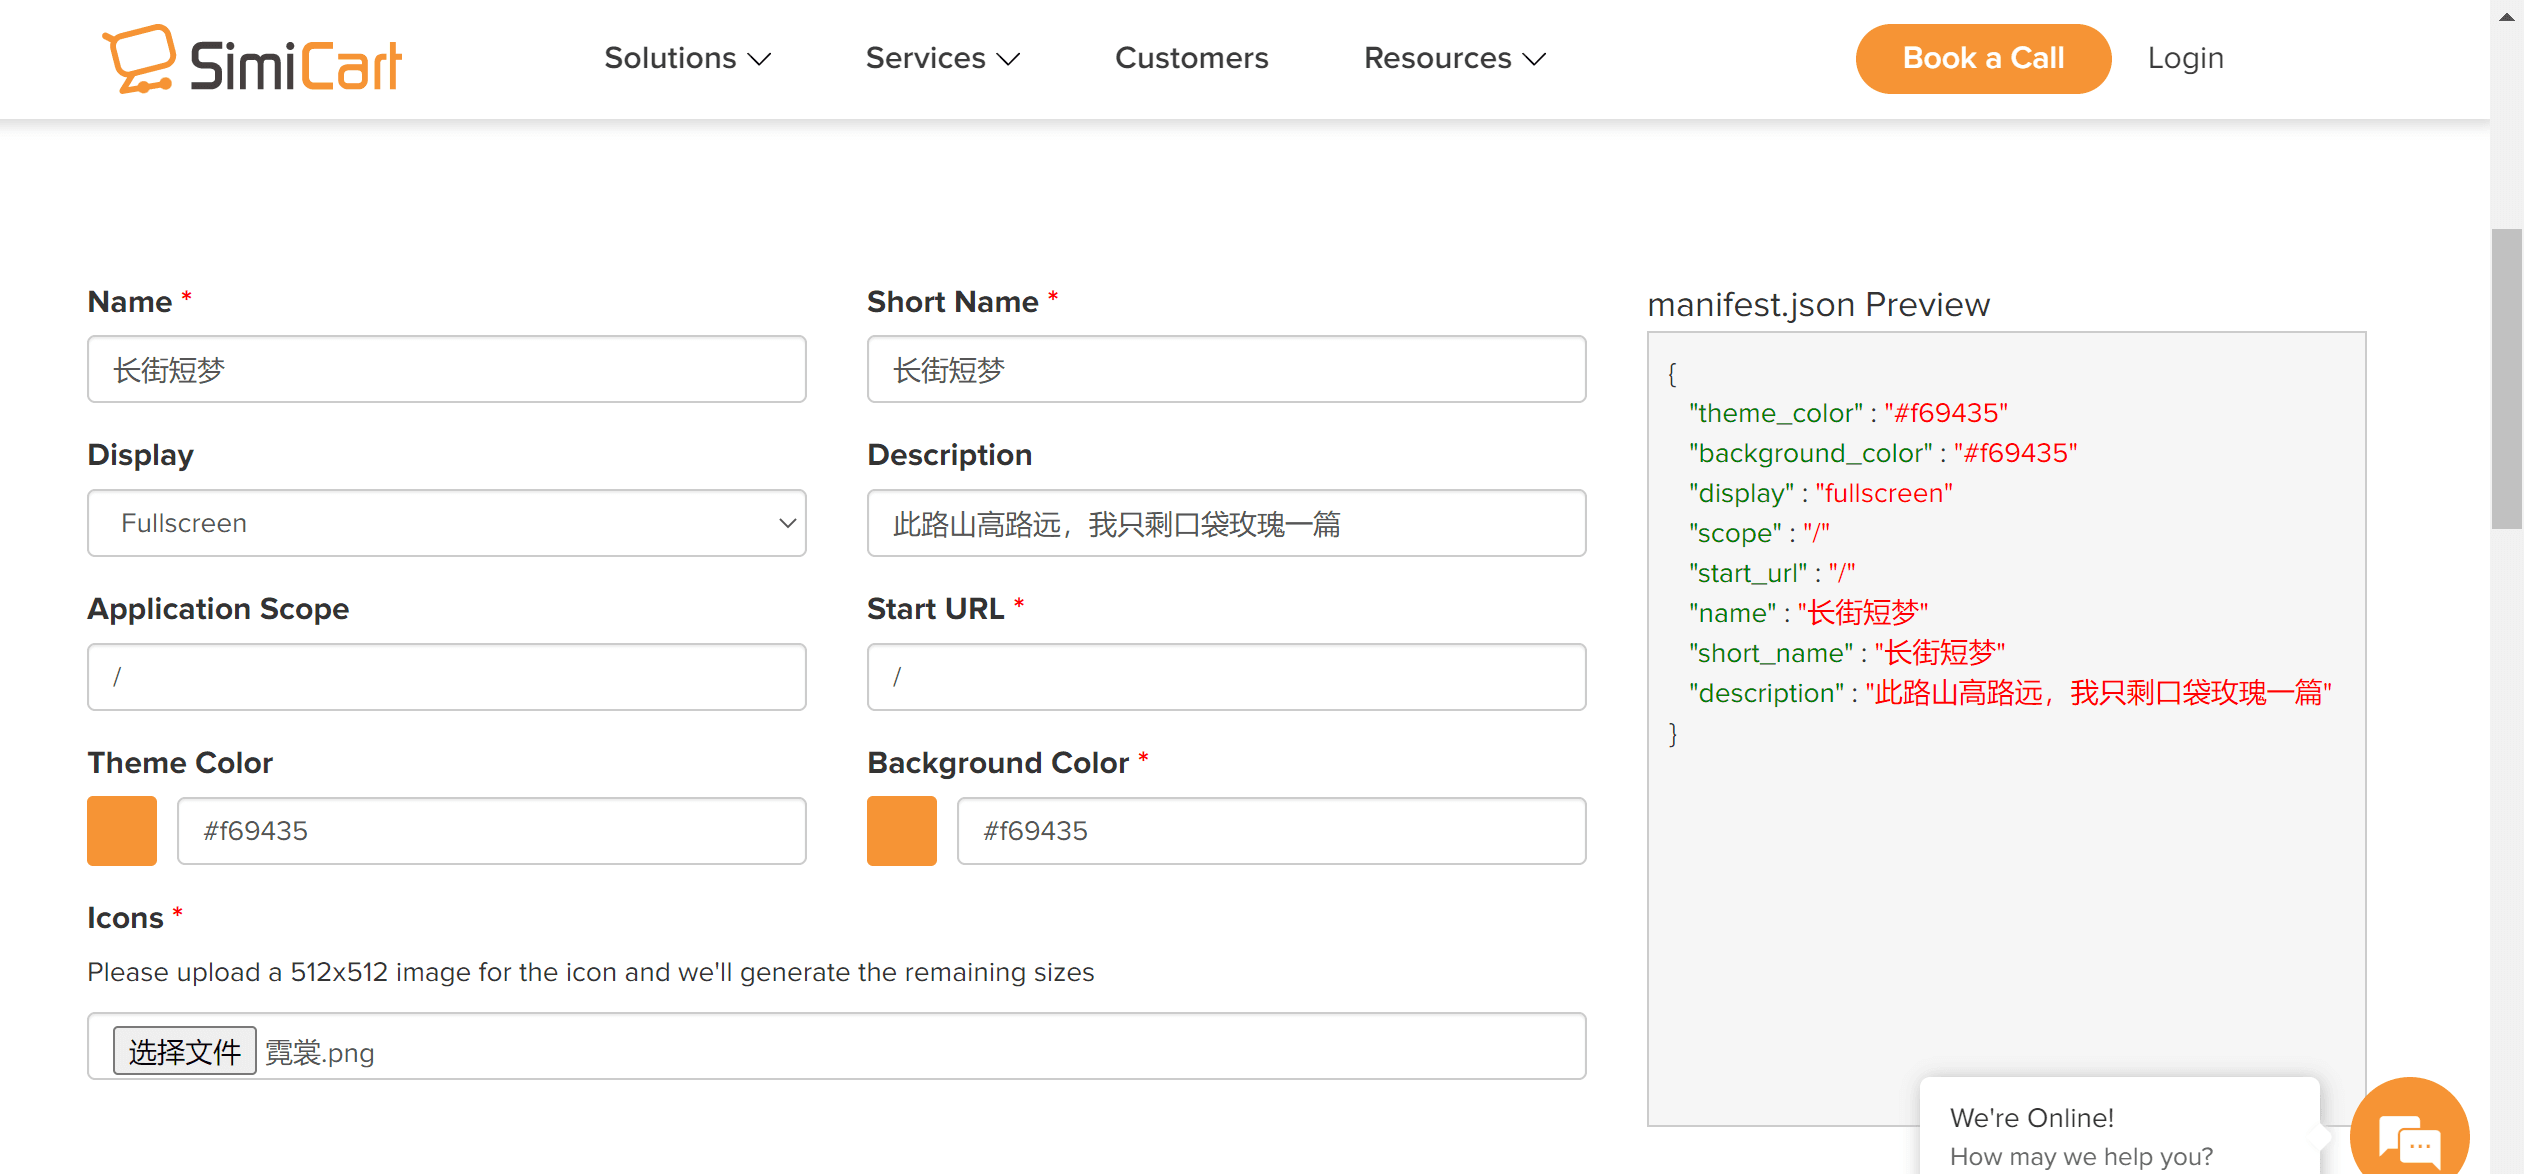
同样可以直接通过工具生成,推荐该网站:Need help building your headless eCommerce storefront?。

下面是一个示例(我的示例):
{

"theme_color": "#f69435",
"background_color": "#f69435",
"display": "fullscreen",
 "scope": "/",
"start_url": "/",
"name": "\u957f\u8857\u77ed\u68a6",
"short_name": "\u957f\u8857\u77ed\u68a6",
"description": "\u6b64\u8def\u5c71\u9ad8\u8def\u8fdc\uff0c\u6211\u53ea\u5269\u53e3\u888b\u73ab\u7470\u4e00\u7bc7",
"icons": [
 {
"src": "/img/icon-192x192.png",
"sizes": "192x192",
"type": "image/png"
 },
{
 "src": "/img/icon-256x256.png",
 "sizes": "256x256",
 "type": "image/png"
},
{
"src": "/img/icon-384x384.png",
"sizes": "384x384",
"type": "image/png"
 },
{

            "src": "/img/icon-512x512.png",

            "sizes": "512x512",

            "type": "image/png"

        }

    ]

}
其中,name指定了应用程序的名称,short_name指定了应用程序的短名称,icons指定了应用程序的图标,start_url指定了应用程序的首页地址,theme_color指定了应用程序的主题颜色,background_color指定了应用程序的背景颜色,display指定了应用程序的展示方式。
配置 sw.js 文件#
PWA 功能还需要使用 Service Worker(服务工作者)来实现离线缓存等功能。我们可以在 Hexo 博客的根目录中创建一个新的文件夹source/sw.js,并在其中创建一个名为sw.js的文件。在这个文件中,我们需要编写一些代码来实现离线缓存等功能。下面是一个示例:
const cacheName = 'my-cache';
self.addEventListener('install', event => {

    event.waitUntil(

        caches.open(cacheName).then(cache => {

            return cache.addAll([

                '/',

                '/index.html',

                '/css/style.css',

                '/js/script.js',

                '/images/logo.png'

            ]);

        })

    );

});


self.addEventListener('fetch', event => {

    event.respondWith(

    caches.match(event.request).then(response => {

    return response || fetch(event.request);

    })

    );

    });
其中,cacheName指定了缓存的名称,在install事件中,我们可以将需要缓存的资源添加到缓存中;在fetch事件中,我们可以从缓存中读取资源,如果缓存中没有需要的资源,则从网络上获取。
部署博客并测试#
配置完成后,我们可以将博客部署到服务器上,并测试 PWA 功能是否正常工作。首先,在命令行中输入以下命令来生成静态页面:
# 清理缓存 / 生成静态页面 / 本地预览
$ hexo clean && hexo g && hexo s